

")
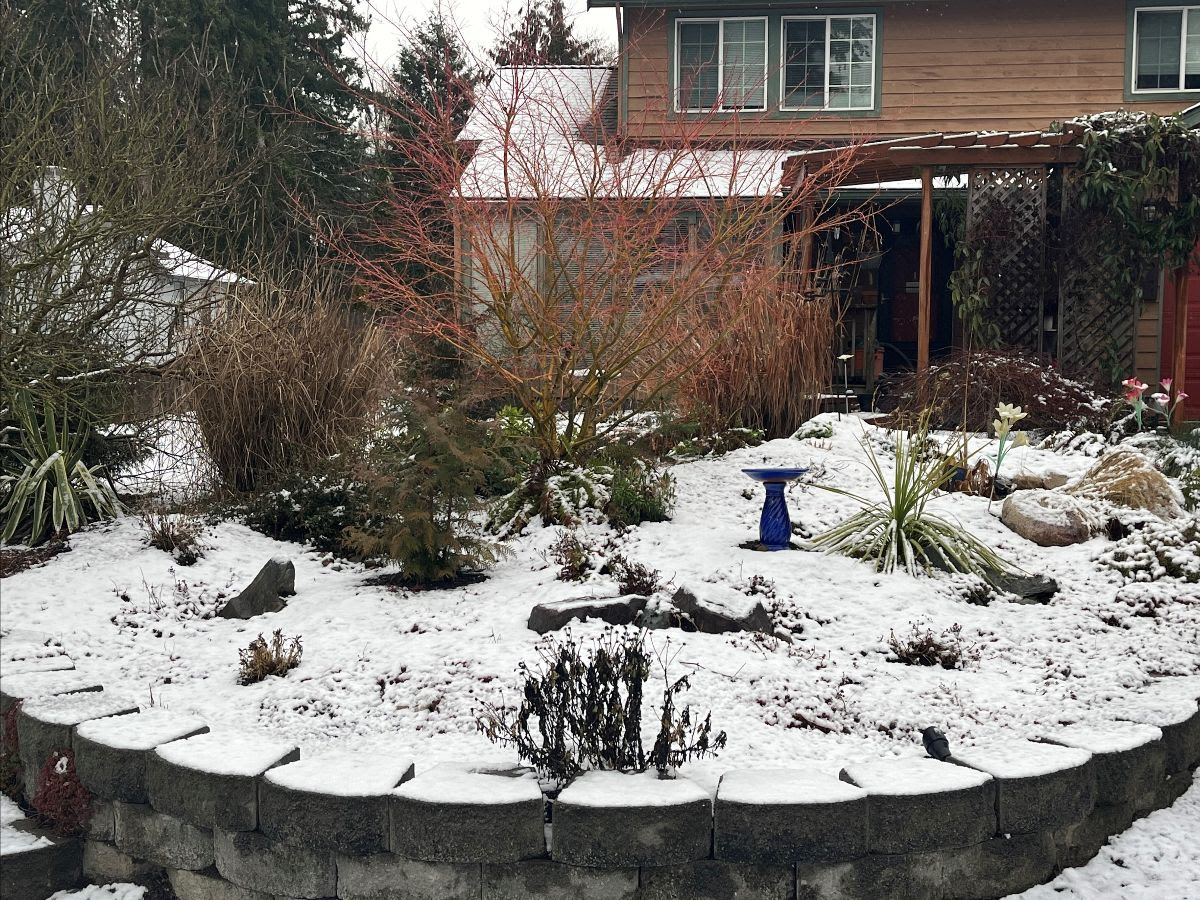
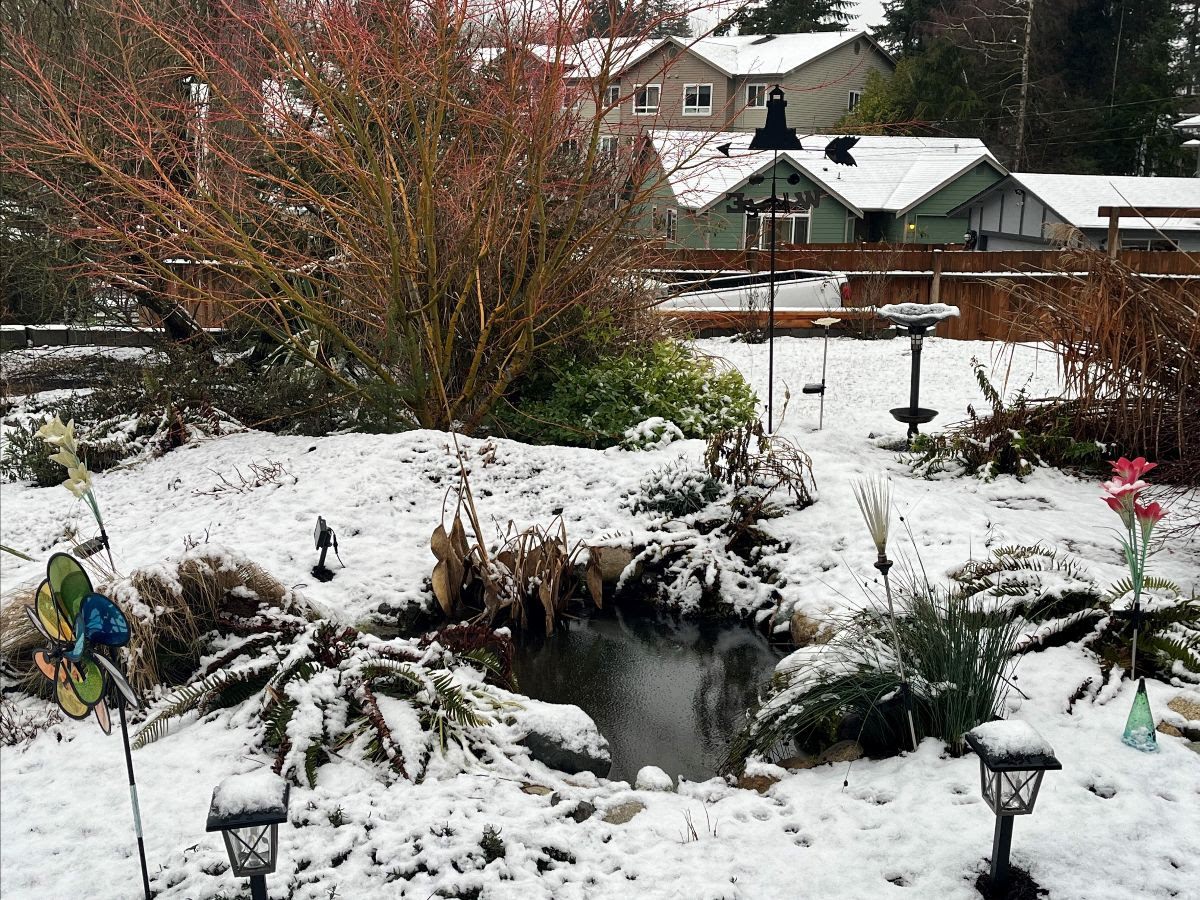
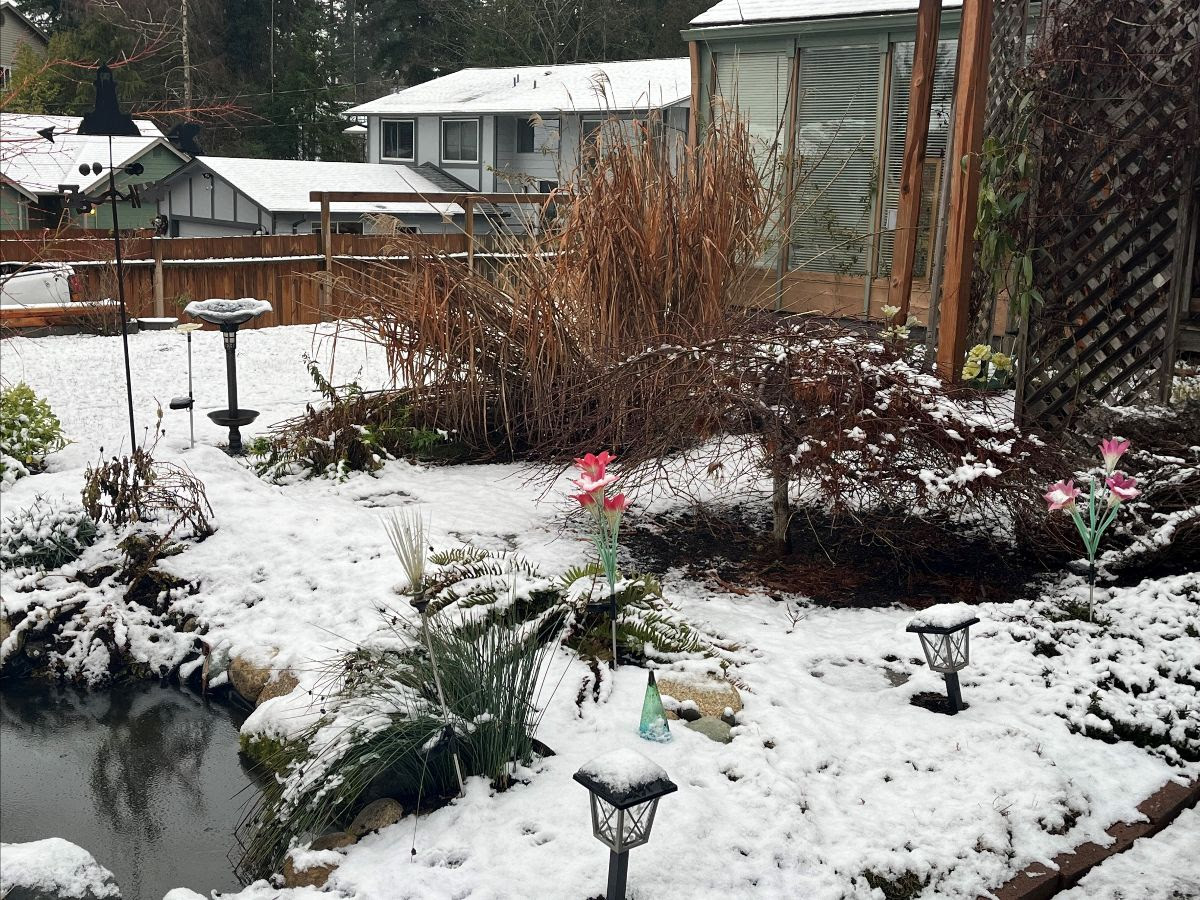
So, apparently we have 2 ground hogs? I had no idea, but I just learned this and what I found out while learning this was that one ground hog saw his shadow and the other did not. So does that mean we still have 6 weeks of winter or does it cut the amount of time in half? I’m not sure but we did get snow this morning and throughout most of the day, so I believe we still have some time left of winter. With it still being chilly out, some exterior work you may not want done at this time, but that is okay. We can start going over your ideas now for the spring and summer seasons. Interior work can still be done during the cold season, so if you have a bathroom or kitchen remodel, give us a call so we can chat 425-224-2004
There is no greater honor than having our past clients/friends recommend us to their friends, family and co-workers. To show our appreciation, we would like to invite you to participate in our exclusive client referral
program.
When you refer a friend, family member or co-worker to our company and they sign a
construction contract with us, you will receive 1% of the total project cost on a future project with our company or cash. A $100,000 project=$1,000 credit.
The people who you refer to our company will also receive 1% off of their project costs to be used with their current project.
There is no limit on how many times you can use this program, so the more you use it, the more money you can earn.
We look forward to working with you, your friends and your family.
Trivia Question:
Q: Roughly, how many chicken wings do Americans eat over February’s Super Bowl weekend?
Call in correct answer for $10 Starbucks Gift Card 425-224-2004
(Where are my winners at?!)
Classic Remodeling NW Inc. are well underway with our addition in Marysville and our remodel in Lynnwood. Getting to the point of filling the walls with electrical, plumbing and HVAC so we can bury the walls in insulation and drywall. Once the drywall goes up, it starts feeling more put together and closer to that finish line. We discuss the “homeowner roller coaster” with homeowners. As the project progresses to each phase, you feel different types of emotions and it is all common for the majority of our homeowners. Without knowing too much about construction, and the walls open, it may seem like things aren’t happening, but in reality, the items done in the walls are a little harder to spot unless you are in the industry or understand more of the process. Of course, once we get out of the walls, there is more to see, like flooring, painting, all trim out of the plumbing fixtures and lighting fixtures. Starting to see the final pieces going in gives that happy/party like feeling as you are about to have a new space that fits you and your needs. We are here to walk you through each process as we progress to help ease any of the stress you may have at any point of the project. So, if you have a project, we are just one phone call away at 425-224-2004
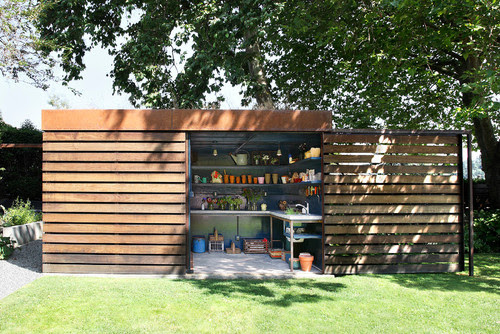
Do These 7 Gardening Tasks Now To Ensure Your Spring Garden Will Thrive
[realtor.com: Ana Durrani]
Gardening in the winter might seem like a futile task, especially if you live in an area that experiences frigid temperatures and consistently wet weather. But smart gardeners know that minding their garden is a year-round job, even if they’re not actively digging in the dirt.
Spring is right around the corner, and there’s no time like the present to start implementing your seasonal gardening strategy.
“The main reason to work on the garden in winter is to get ahead of the game. Anything you can do in winter is one less thing to worry about in spring,” says Erin Schanen, Troy-Bilt’s gardening partner, a master volunteer, and creator of The Impatient Gardener blog and YouTube channel.
Here are a few items to add to your to-do list that’ll help you get a jump on your gardening once the weather warms up.

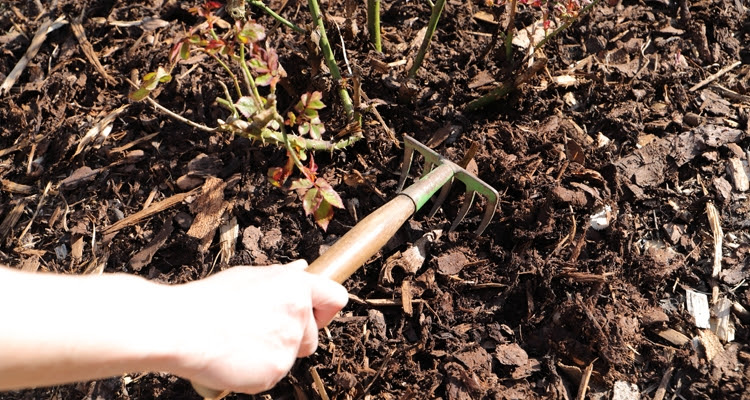
Clean and Repair Garden Tools
Winter is the time to tend to your gardening tools by sharpening them, lubricating them, removing rust, and replacing broken handles or dull blades.
Use a wire brush or a blast of water to remove dirt, and then dry the tool with a rag. Remove any rust with a pumice stone that has been soaked in water or with fine steel wool.
“Sharpen shovels and spades with a metal file after applying a thin coat of oil. Hand pruners, loppers, and other small blades should be sharpened using a sharpening stone,” says Schanen.
Lubricate blades with a light oil like camellia oil after sharpening to help keep the blades rust-free.
Check for loose or broken parts on all your tools, and replace or repair them as needed.
“Wooden handles can be cleaned with soap and water and a stiff brush, then coated in linseed oil,” says Schanen.
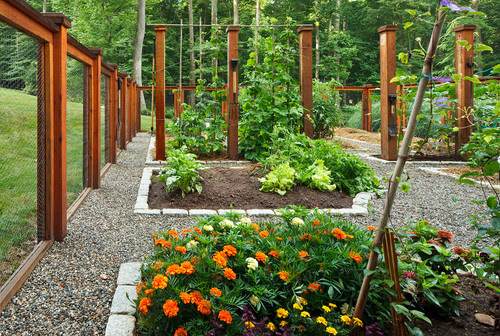
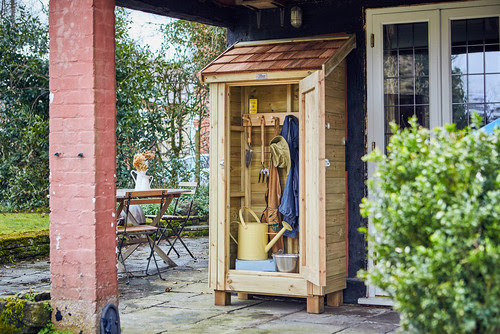
Take Inventory of Gardening Materials
Determine the amount of potting soil, mulch, fertilizer, and other materials in your shed. Repurchase any materials you’ll need for the coming year.
“It’s particularly important to go through your stock of fertilizer and any herbicides, pesticides, or other treatments if they have been stored in a space where they freeze,” says Schanen.
Temperature extremes can reduce the effectiveness of the materials in plant treatments.
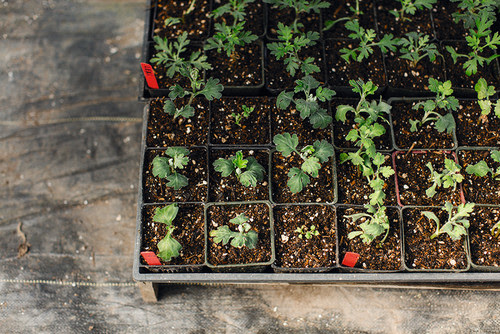
Order Seeds
request and review seed catalogs to get inspiration for your garden, and always make sure to order seeds that are suitable for your growing conditions.
“For this time of the year, I recommend ordering seeds for lettuce, spinach, peas, radishes, broccoli, cauliflower, bok choy, and some herbs like sage, oregano, dill, and mint. They’ll be perfect to plant in the coming months and will garner results by late spring or early summer,” says Brett Douglas, Thumbtack pro and owner of Ironclad Landscape Management.
To see if old seeds are still good, do a germination test. Put a few seeds on a moist paper towel place it in plastic wrap or a sealable plastic bag, and make sure it stays warm. Wait about a week to see how many seeds germinate.
Schedule Time to Start Seeds
Make a schedule of when your seeds need to be started and what supplies are needed.
“A see-starting spreadsheet can be very helpful to make sure you are starting seeds at the appropriate time, which is important to make sure plants have the opportunity to continue growing and, if you’re starting them inside under grow lights, are planted at the right time,” says Schanen.
Use the information on the seed packets to determine when to start the seeds. It’s often based on your last frost date. (This can be found by doing an online search for the last frost date by ZIP code.)
“Although you may never use it, tuck a tub into a convenient spot for show and use, should your feelings about baths change,” says Ardia.
A soil test will help gardeners understand the chemistry of their soil, including the pH level, amount of organic matter, and levels of certain important nutrients. Most public universities provide soil tests for a nominal fee.
“The report you’ll receive is not just an important window into what’s happening in your soil, but it will also provide information on how to correct imbalances for the best results for what you’re growing,” says Schanen.
Since the soil needs are specific to what is being grown in a given area, Schanen says it’s best to take samples for the lawn, vegetables, and perennial gardens separately.
Gardeners in cooler climate areas can do a soil test when frost is no longer on the ground.
Understanding the difference between a cultivator and tiller will help you select the right piece of equipment for your gardening needs.
“Cultivators are great for mixing loose soil and breaking up small weeds between rows in gardens that have already been established,” says Schanen. “Tillers are excellent for creating a new garden and mixing in soil amendments to establish a good foundation for growing.
With gardening tools, Douglas advises to “always go for quality over price.”
When the first signs of winter weather hit, gardeners who live in frost climates know to apply a layer of mulch to insulate their plants and protect them from rapid freezing and thawing. But when nighttime temperatures are no longer at or below freezing, and your plants start to show new growth, it’s time to remove the mulch.
Now is the perfect time to closely observe your plants, check the ground beneath the mulch, and monitor temperatures so as to determine the right time to remove your winter mulch. Experts recommend keeping a garden journal to record your findings.

Honey Garlic Chicken Wings(Oven Baked)
Time
Prep 10 Mins. Cook 55 Mins
Ingredients
Sauce
Directions:
ENJOY!!!