
Wow! Have you been outside the last week and a half? If you have then you know it was pretty warm out. Me being from California, I loved it. Warmer weather means being outside more, watching the kids play as you sip on your nice cold glass of sweet tea. I was out at a birthday party this last weekend when it hit about 85 degrees in the Snohomish area. The property I was at was beautiful, spacious and had a cute back porch. The one thing it was missing….SHADE!!! Only two trees on the property that didn’t cast off any shade at all, the porch had no cover (luckily there was a canopy that was used), but with as many people as there was, there wasn’t enough shade to keep everyone cool. So I of course got to thinking about how many homeowners out there have a beautiful property, with a great porch but little to no shade to keep you cool on those warm sunny days. Or maybe you have a spacious property and would like to put a porch or patio of some sort onto it? Well give us a call at 425-224-2004 and we can help you with your project ideas. Your complimentary consultation is one phone call away.


There is no greater honor than having our past clients/friends recommend us to their friends, family and co-workers. To show our appreciation, we would like to invite you to participate in our exclusive client referral
program.
When you refer a friend, family member or co-worker to our company and they sign a
construction contract with us, you will receive 1% of the total project cost on a future project with our company or cash. A $100,000 project=$1,000 credit.
The people who you refer to our company will also receive 1% off of their project costs to be used with their current project.
There is no limit on how many times you can use this program, so the more you use it, the more money you can earn.
We look forward to working with you, your friends and your family.
Trivia Question:
Q: May was named after what Roman Goddess?
Call in correct answer for $10 Starbucks Gift Card 425-224-2004
(Nobody won last months trivia question so call in!)
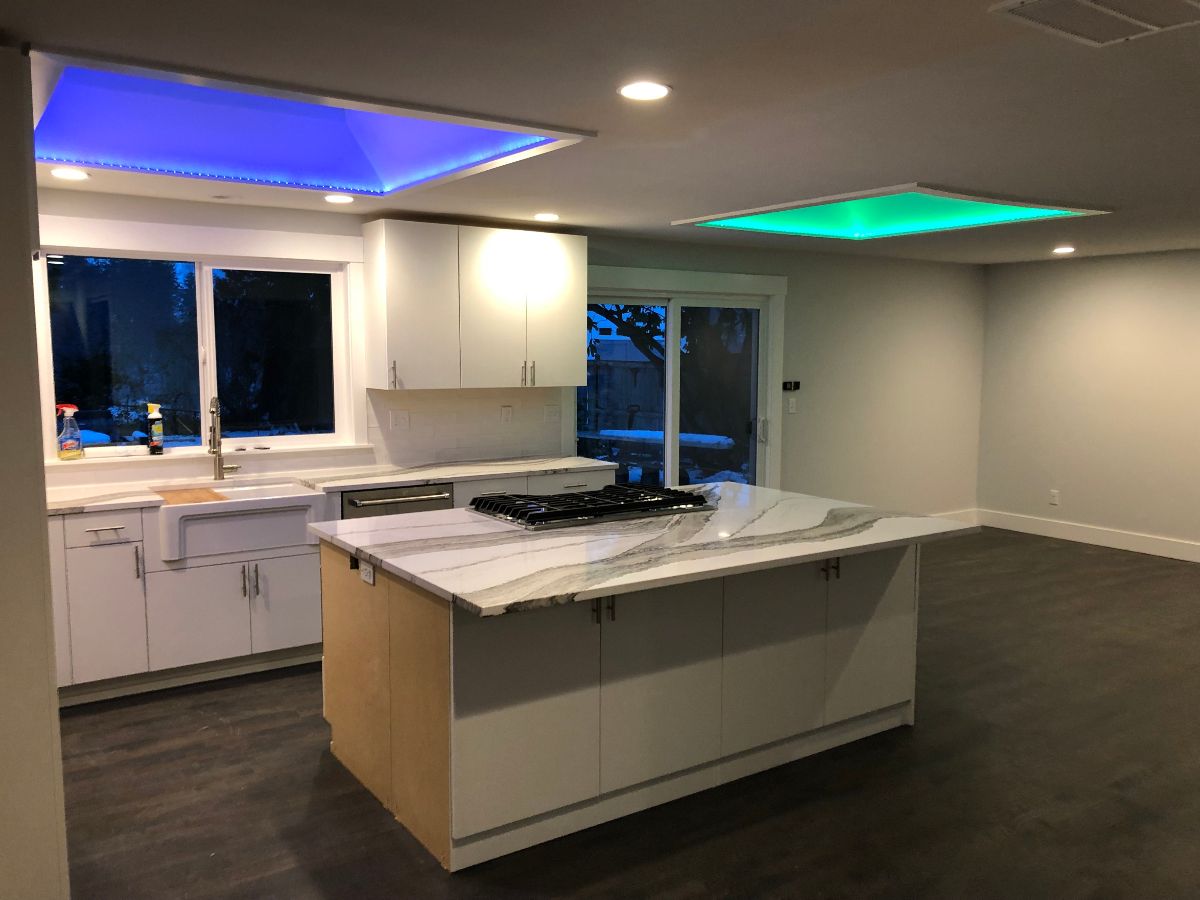
The busy season has started and we are getting phone calls for all sorts of projects. Anywhere from bathroom remodels to new builds. We have been finishing up some outdoor living spaces as well and I can honestly say I am jealous. These homeowners have agreed to let us help them build their dreams and we sure do enjoy seeing your smiling faces when your project is completed. The sun is making an entrance and we should be right there to welcome it. Whether that be on our beautiful brand new back/front porch, or maybe on our new deck, maybe even in a new sun-room. Or maybe you don’t have any of these but would like one? Well give us a call and we can help you build your ideas. Even if you’re not wanting any of these on your home or you already have one, we also specialize in bathroom remodels, kitchen remodels, basement finishes, and additions. Any of your remodeling needs we are here to help, give us a call at 425-224-2004 and we can schedule a complimentary consultation.
5 Home Improvement Projects Perfect for Beginners
[realtor.com/Lauren Sieben]
It starts like this: You’re listening to a co-worker describe tiling their own kitchen backsplash last weekend. “That doesn’t sound so hard,” you think to yourself. “I could do that.”
And sure, you could-but should you?
Some projects, like renovating your entire kitchen or turning a closet into a full bathroom, are too ambitious for most beginners. But even if you’re a DIY newbie, there are plenty of projects you can tackle without specializing expertise or experience.
Plus, becoming more handy around the house is empowering: “You’ll make mistakes along the way, but figuring out how to correct those mistakes will teach you as much or more as if you’d gotten it right the first time,” says Shawn Finley, owner of Noble and Oak Renovation & Restoration in Liberty, MO.
Ready to roll up your sleeves and get going? Start with one of the projects below for an easy entry into the wonderful (and let’s be honest, sometimes stressful) world of DIY home renovation.
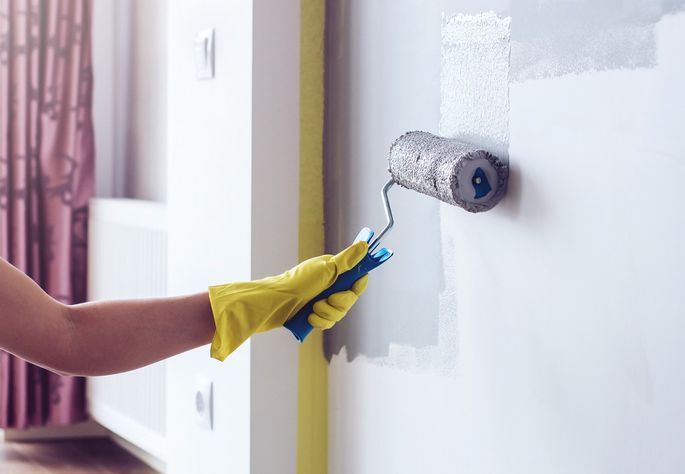
“Just by painting your walls, you’ll uplift the look of your home in an instant,” says Michelle Swier, owner and partner of MKE Design Build in Milwaukee.
“Painting a room is a great way to get practice and learn how paint flows, dries, and hides,” Finley adds.
If you’re unsure about colors, Swier suggests using a fresh coat of white paint on trim and a bright white on ceilings. For walls, choose any shade that suits your style.
Not ready to commit to that big of a change? Start smaller, by painting a nightstand or an old piece of furniture that could use an update.
A word of warning: If you’ve never painted before, giving your kitchen cabinets a face-lift might be too risky for your first DIY project.
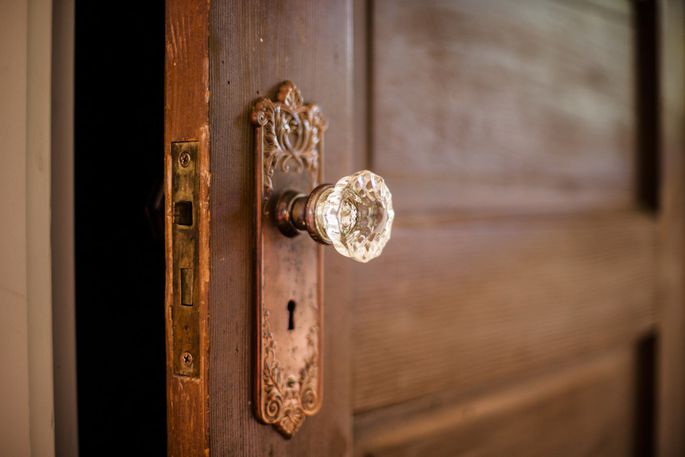
Walk around your home and determine which hardware doesn’t match or could use an upgrade.
“Don’t be surprised that you may find several different finishes and styles that are ready to be swapped,” Swier says. “this is a great beginner DIY task that can give your home that fresh look.”
All you need is a screwdriver and a free afternoon. If you’re replacing drawer pulls, don’t forget to measure the distance between the screws to make sure your new pulls will fit.
If you want to up the DIY ante and save some money, keep your existing hardware and give it a makeover with spray paint. After removing your hardware, lay it down on an old sheet or on cardboard in a well-ventilated area, preferably outside. A few light coats of spray paint can breathe new life and personality into rusty old knobs and pulls.

If your trim is looking worn, you can easily brighten it up by cleaning it with an all-purpose cleaner or a Magic Eraser. For seriously scuffed trim, a fresh coat of paint can work wonders.
Then, check around the house for places where you caulk could use a touch-up.
“It’s usually not hard to find places where trim has separated from the wall a little, or maybe around a window or door casings,” Finley says. “If it happens to be on an exterior wall, recaulking can help save energy, which is always a good thing.”
Caulking is an easy task for DIY beginners, but Finley suggests going slow, to avoid mistakes.
It’s easy to add more caulk, but once you have too much on the work piece, it can turn into a messy headache,” he says.

For this project, you’ll need a tape measure, picture hangers, and a level. A gallery wall requires plenty of measuring to determine where each piece should go, and the level will help you hnag everything evenly. If you’re hanging heavier pieces, use a stud finder to locate the sturdiest part of the wall can support the most weight – or, in lieu of picture hangers, use drywall anchors and screws.
The good news: A gallery wall is forgiving if you make mistakes here and there.
“If something isn’t quite right, you can usually fix it by adjusting the location of the picture to cover the wrong hole you made,” Finley says.

To get started, break up your maintenance to-do list into two columns, for indoors and outdoors. Go for a walk around the exterior of your house and take inventory of what needs attention now and what you’ll need to address in the future.
“Take notes of tree limbs that need trimming, siding on the home in need of repair, and make sure that downspouts and gutters are moving water away from the home,” says Jenny Naughton, executive president and risk consulting officer at Chubb, a global insurance provider.
Then, do the same for the interior.
“Create or use an online inspection checklist to remind yourself of routine maintenance, like testing sump pumps and replacing HVAC filters, as well as visual inspections of water line connections to toilets, refrigerators, and washers,” Naughton says.
At the end of the say, learning how to handle routine maintenance will give you the insight into identifying issues before they get out of hand, which can save you money and hassle in the long run.

Ingredients:
For the Chicken
Directions:
ENJOY!!